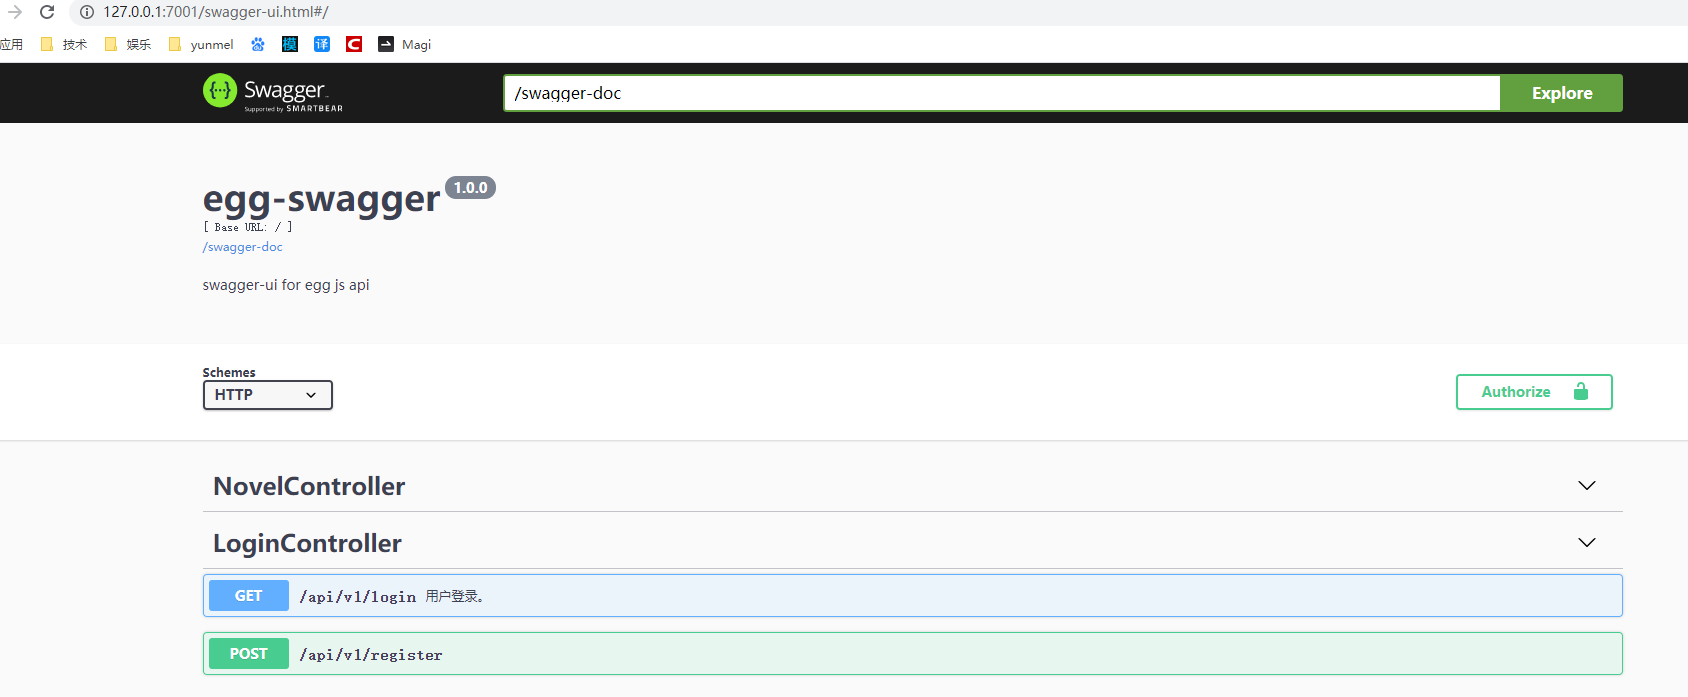
如何在eggjs中搭建一个swagger-ui接口预览文档?下面这篇文章将会教你如何搭建swagger-ui
参考文章

安装egg-swagger-doc 插件

1
npm install egg-swagger-doc -S

配置egg-swagger-doc 默认配置

1
2
3
4
5
6
7
8
9
10
11
12
13
14
15
16
17
18
19
20
21
22
23
24
25
26
27
28
29
30
31
32
33
34
35
36
37
38
39
40
41
// plugin.js or plugin.ts

config.swaggerdoc: {
enable: true, // 是否启用。
package: 'egg-swagger-doc', // 指定包名称。
}

// config.default.js or config.default.ts
// egg-swagger-doc 配置信息。
exports.swaggerdoc = {
dirScanner: './app/controller', // 配置自动扫描的控制器路径。
// 接口文档的标题,描述或其它。
apiInfo: {
title: 'NAPI', // 接口文档的标题。
description: 'swagger-ui for NAPI document.', // 接口文档描述。
version: '1.0.0', // 接口文档版本。
},
schemes: [ 'http', 'https' ], // 配置支持的协议。
consumes: [ 'application/json' ], // 指定处理请求的提交内容类型(Content-Type),例如application/json, text/html。
produces: [ 'application/json' ], // 指定返回的内容类型,仅当request请求头中的(Accept)类型中包含该指定类型才返回。
securityDefinitions: { // 配置接口安全授权方式。
// apikey: {
// type: 'apiKey',
// name: 'clientkey',
// in: 'header',
// },
// oauth2: {
// type: 'oauth2',
// tokenUrl: 'http://petstore.swagger.io/oauth/dialog',
// flow: 'password',
// scopes: {
// 'write:access_token': 'write access_token',
// 'read:access_token': 'read access_token',
// },
// },
},
enableSecurity: false, // 是否启用授权,默认 false(不启用)。
// enableValidate: true, // 是否启用参数校验,默认 true(启用)。
routerMap: true, // 是否启用自动生成路由,默认 true (启用)。
enable: true, // 默认 true (启用)。
};

配置忽略token验证

1
2
3
4
config.jwt = {
enable: true,
ignore: [ '/api/v1/login', '/public/', '/api/v1/register', '/swagger-ui.html', '/swagger-doc', '/swagger-ui.css', '/swagger-ui-bundle.js', '/swagger-ui-standalone-preset.js' ],
}

接口配置

1
2
3
4
5
6
7
8
9
10
11
12
13
14
15
16
17
18
19
20
21
/**
* @summary 添加小说。
* @description 添加小说接口.
* @Router post /api/v1/novels
* @Request query string name 文章名
* @Request query string sex 性别分类
* @Request query string type 文章分类
* @Request query string desc 小说简介
*/
public async create() {
const { ctx } = this;
const userid = await ctx.service.users.getIdFromToken(ctx);
// const index = await ctx.service.chapters.getChapterIndex();
const body = ctx.request.body;
const result = await ctx.service.novels.createNovel({ ...body, userid });
if (result) {
ctx.body = Object.assign({}, Code.SUCCESS, { data: result });
} else {
ctx.body = Object.assign({}, Code.NORMAL_ERROR('小说保存失败'));
}
}

查看结果

实现结果截图